Dotted Thirds Sampler Pack Resource Explained
‘Why do I need to download the new dotted thirds paper sampler pack?’
Welcome to my new digital resource- Dotted Thirds Sampler Pack.
It’s all about picking the perfect paper size for writing neatly and smoothly during a Big Write. Choosing the right dotted thirds or lined paper size can significantly reduce the cognitive overload that comes with handwriting and also encourages students to get started.
Handwriting isn’t just about putting words on paper—it’s a whole mental workout! Kids must coordinate their fine motor skills, keep track of spacing, and ensure their letters are legible. It’s a lot to handle, especially when they’re also trying to write at a steady pace.
That’s where the choice of paper size comes in. Dotted thirds or lined paper gives students a visual guide, helping them keep their writing neat and organised.
This sampler pack is designed to allow students to run a short, quick dictation or speed writing check. For example, I wrote a few words as quickly as possible and then pretended to write a birthday card or note to the family. Nothing complex; I just wanted to write something at speed. If I was using dotted third sheets that were too large in size, I couldn’t write neatly at speed. I had to slow down to try and form my letter larger, and my writing tended to float off the line often. I discovered that my most comfortable page size is 10mm.
By allowing students to pick the best size paper for them, we’re taking some of the pressure off their brains so they can focus more on what they’re writing and less on how they’re writing it. And it’s not just about handwriting. Creative writing can be a real brain workout, too! Kids are juggling ideas, trying to structure their thoughts, and put them down on paper—all while making sure their handwriting looks good. It’s like trying to juggle too many balls at once!


By helping students choose the right paper size, we’re making their lives a bit easier. Neater handwriting means less frustration and more confidence in their writing skills. Plus, it frees up their brains to get creative without feeling overwhelmed by the mechanics of writing.
In the examples pictured, Jaz who is in Grade 5, but has not been exposed to cursive or pre-cursive writing through school, would like to develop the skill at home to help give her writing more maturity. She has only just begun the process. In the first photo on the sky/grass/dirt paper, she practises ‘have a great day’. When the paper lines were too large, her writing reverted back to complete print and no skill transferred.
In the second picture, she determined that approximately 10mm or 11mm line width was the most comfortable at speed. When she tried to transfer her beginning cursive skills she discovered 10mm was too small and 11mm allowed her to control her neatness and speed.
Now that we know this, she will use a handwriting practice book to continue to learn her cursive clusters and then speed loops, and she will finish the session with a free write or dictation passage that contains the skills on the 11mm paper to transfer the skill to her everyday writing muscle memory until she doesn’t need to concentrate on the letter formation, but instead on the content.
In a nutshell, finding the perfect dotted thirds or lined paper size isn’t just a small detail—it’s a game-changer for many students. This resource is here to help educators and students alike navigate the world of handwriting with confidence and ease. Let’s make writing a fun and stress-free experience for everyone!
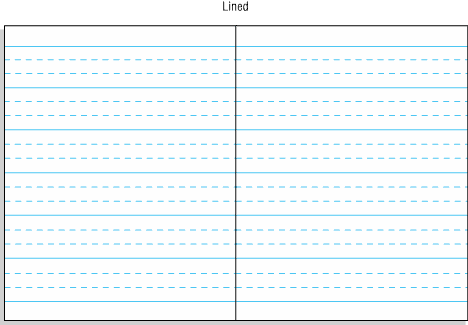
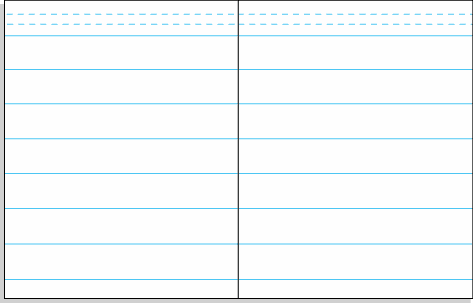
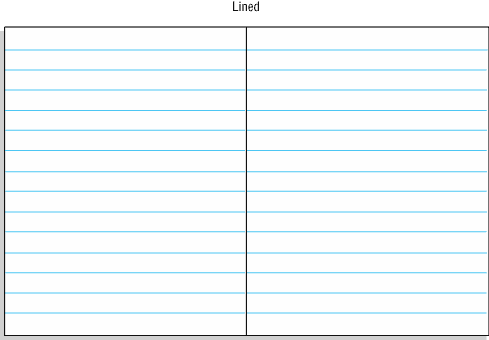
In this sampler pack you will find 10mm, 11mm, 12mm, 14mm, 16mm and 18mm dotted thirds paper in 3 options – sky, grass, and dirt, highlighted base, and plain. With the sky, grass, and dirt paper, you form the base letter like an a on the grass; h would send into the sky section, and g would dig into the dirt section. The highlighted base paper only has what would be the same as the grass section but is highlighted in yellow to draw the eye. I only use the highlighted base method whenever I support children in their textbooks with where to form their letters. The plain dotted thirds are just black and white, but this can be an overwhelming amount of dots for some student’s eyes.
Once students have worked out which paper is their best fit, they can be photocopied to be used as their Big Write paper, where we are writing for 20-40 minutes in a showcase piece of text. Ideally, I would also have their everyday workbooks in this paper size, but this isn’t usually an option when booklists are ordered as standard fit. However, a quick walk around the school and I can usually find some leftovers to assist some students who would struggle otherwise.
Remember, when practising handwriting, students will likely have different goals. It may be more beneficial to their success for you to make up their handwriting tasks to work on. After 5 minutes of practice, there should be an opportunity to transfer the skill within a word or text to help embed the muscle memory.


Further Information:
The Teaching of Handwriting Revised Edition
Published by the Department of Education & Training, GPO Box 4367, Melbourne, Vic. 3001, Australia.
© State of Victoria. First published 1985. Revised 2002 and 2018.
Resources for writing –
All students will benefit from the opportunity to use a wide variety of writing implements and surfaces and the opportunity to experiment. However, teachers will give careful consideration to the suitability of writing implements and paper given to students for instructional and extensive use.
Writing implements
Standard ‘adult’ writing implements support students’ handwriting development as they:
- help students develop a mature pencil grasp
- are thin enough for the point to be easily seen by the writer – this avoids leaning over work which detracts from good posture
- produce a fine line to enhance the detail of letter shapes.
However, younger children (both left-and right handers) may prefer pencils with a slightly large diameter as they are easier for them to hold, and triangle pencils help to promote the development of a mature grasp. Pencils with raised dots, indents, grooves and built in grips also encourage the development of a mature pencil grasp (Mackenzie & Spokes, 2024).
Students learning to write like to produce dark and contrasting lines so 2B and B standardised pencils and felt or nylon-tipped pens are recommended for both right and left-handed learners. Some thin-barrelled crayons may be appropriate. Some brands of felt-tipped pen are unsuitable if both sides of the paper are to be written on, since the ink penetrates the paper.
When students have developed a mature grasp and are forming letters efficiently and automatically HB pencils can also be used while. fluent writers can be introduced to the use of ballpoint pens and roller-ball pens.
While many students will find these implements appropriate, implements should be selected to meet students’ individual needs. Pens that smudge easily should be avoided with left-handers.
As students develop control and competence, usually during the middle years of schooling, fountain pens and calligraphy pens can be introduced and used in addition to the other writing implements.
Pen holders and triangular-shaped pencils
For young children some standard holders may need to be shortened.
Moulded plastic devices designed to hold pens and pencils may assist students having trouble developing the precision grip, as may triangular-shaped pencils. However, as their purpose is to assist in developing pencil grasp, they are best viewed as a short-term measure, possibly only employed in Prep and Grade 1.
Paper
While general recommendations can be made regarding paper and line sizes for handwriting instruction, paper should be selected to meet students’ individual needs.
Many students in Prep and Year 1 will find appropriate:
- blank A4 paper
- dotted thirds with a line depth of 24 mm (letter size 8 mm)
Many students beginning school will use blank paper for much of the year and be introduced to lined paper divided into thirds later in the year. The transition from blank paper to lined paper divided into thirds can be facilitated by having students learn to write letter bodies sitting on a single line or on the crease of a folded blank sheet. If beginning, emergent or early writers form letters with the letter body not sitting on the line, teachers can refer the student to their alphabet card to highlight letter placement or can model the correct placement on the student’s page.
Placing the paper in the ‘landscape’ position may assist students establishing the understandings of directionality and return sweep. Once these concepts are understood, A4 paper placed in a ‘portrait’ rather than ‘landscape’ position may reduce body leaning.
Many students in Years 2 and 3 will find appropriate:
- A4 sheets and exercise books divided into dotted thirds with a line depth of 18 mm (letter size: 6 mm)
Many students in Year 4 will find appropriate:
- an introduction to 14 mm exercise books (letter size: about 5 mm)
Dotted thirds with a line depth of 18 mm (letter size 6 mm) may still be appropriate for some students.
Many students entering the middle years – Years 5 and 6 – will find appropriate:
- an introduction to 8 or 9mm exercise books (letter size: 2 or 3 mm). Most of these students will no longer require dotted thirds.
A green dot can show the starting position, an arrow can indicate direction and a red dot can show where the movement is completed.
Publishing
When students are publishing writing to be shared with an audience, a range of writing implements and surfaces can be available for use. Through experimentation students will develop their own style and flair, and understandings about the effectiveness of different publishing formats.
Models
The most effective model of handwriting is the dynamic model performed by the teacher in front of the student, showing the actual motions involved in forming the letter or join, including:
- the starting point
- the direction in which the letter is formed
- where the letter is completed or joined to the following letter.
However, alternate models and instructions will be necessary for left-handers for some letters (e.g. the direction of the stroke for many left-handers is from right to left for t and f)
Copying from alphabet cards showing Victorian Modern Cursive is also useful in supporting students’ writing, particularly if they show:
- the starting point of each letter
- the direction in which each letter is formed
- the point where the letter is completed.
- the alternate starting points and directions for left-handers for some letters.
The teacher must be observant to ensure that the starting points and direction of letters are followed carefully otherwise students may be practicing incorrect formations.
While students will be surrounded by a range of typefaces and styles of print, it is important that they have easy access to models of Victorian Modern Cursive. These may include alphabet cards and texts constructed by the teacher or students.